 boswidget
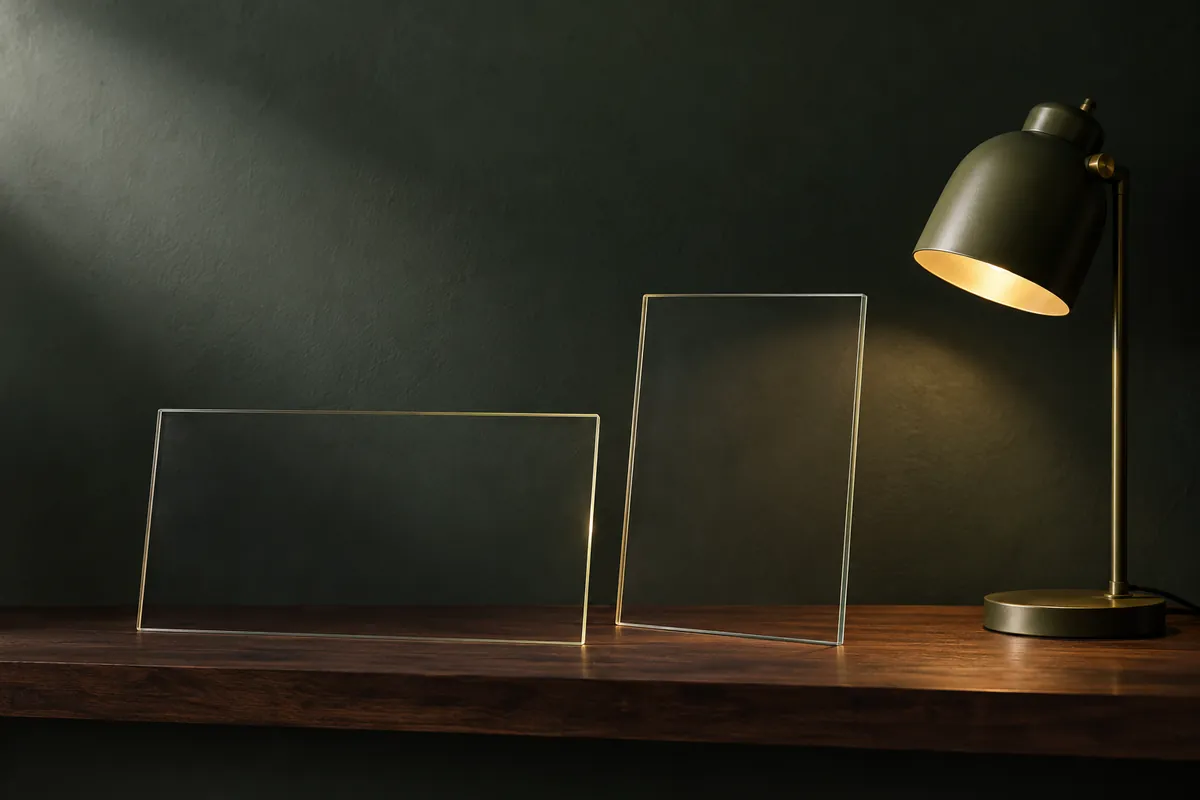
The lamp looks right in a wide banner, with room for a heading beside it. On a phone, only the edge of the shade survives, and the text lands over a busy shelf. Asking for “a beautiful interior” will not solve that problem. Qwen Images needs a brief with two separate requirements: where the main subject sits and which part of the frame your layout will use for text.
We will work on a hero section for a desk-lamp page. It needs a wide image for desktop and a portrait image for mobile. The heading will be ordinary website text over the image, rather than part of the generated artwork. That lets you change, translate and enlarge it without generating the image again.
Open the layout before writing the prompt
Define the two image areas and the position of the heading in each. In this example, the wide frame has a 16:9 ratio and the portrait frame is 4:5. The text sits on the left on desktop and at the top on mobile. These are decisions for our layout, not mandatory Qwen Images settings. If the interface offers an aspect-ratio selector, use it; the prompt text alone does not set the image dimensions in pixels.
- Main subject: one lamp, with its shade, stem and base fully visible. Its shape should remain recognisable in a small preview.
- Wide frame: lamp on the right; a quiet area on the left, with no small objects, highlights or sharp edges behind the heading.
- Portrait frame: lamp below the centre; the top is reserved for the heading and button.
- Shared brief: the wall colour, lamp material and character of the light. Do not expect every highlight and shadow to match across two independent generations.
“Empty” can be too vague. Describe what should remain in that space: a plain matt wall with a gentle light gradient. Otherwise, the model may clear the shelf but leave a high-contrast window frame behind the letters.
Wide frame: subject on the right, heading on the left
Create a photographic interior scene for a wide website hero section about a desk lamp. One lamp with a matt dark-green metal shade, a slim straight stem and a round base stands on a light wooden console in the right third of the frame. Show the whole lamp, with its silhouette clearly separated from the background. A neutral warm-toned wall, soft daylight from the side and a natural contact shadow.

The left half of the frame is a plain matt wall with smooth lighting: the website layout will place a heading and button here. Do not put furniture, plants, windows, cables, bright highlights or high-contrast shadows in this area. Do not render lettering, logos, interface elements or borders. Leave a little clear space around the shade and base to allow a small crop.
Area names and proportions give the model a compositional guide. They do not act like coordinates in an image editor. After generation, place the real heading and button over the image in the layout. A picture can look appealing on its own and still make an awkward background.
The official Qwen-Image repository demonstrates text-to-image generation and examples with different aspect ratios. It describes the model family and reference code. It does not establish that every service offers a particular selector, version or mode. This task needs neither API commands nor parameters borrowed from another interface.
Why a centre crop may not work
Suppose the source file is 1600 x 900 pixels. To crop it to a 4:5 ratio at full height without stretching, you need to keep a strip 720 pixels wide: 900 x 4 / 5 = 720. A centre crop retains the area from x=440 to x=1160. A lamp near the right edge may end up entirely outside it.
That calculation applies to the stated file, not to dimensions the model promises to produce. Check your own image’s actual size. Moving the crop to the right may save the lamp, but it does not create space for a heading at the top. Try the crop in the layout; if the subject and text compete for the same area, prepare a separate portrait composition.
Request the portrait version separately
Create a photographic interior scene for a portrait website hero section about a desk lamp. One lamp with a matt dark-green metal shade, a slim straight stem and a round base stands on a light wooden console. Place the lamp in the lower part of the frame, near the centre, and show it in full, including the base. A neutral warm-toned wall, soft daylight from the side and a natural contact shadow.

The top third of the frame is a quiet matt wall with no objects, bright highlights or sharp shadows: the layout will place a heading and button here. Do not render lettering, logos, interface elements or decorative borders. Leave a little room at the sides so the edges of the shade do not touch the image boundaries.
Before using this prompt, select a portrait aspect ratio if one is available. If not, first check what area you can crop from an available format. Do not stretch the finished image: the circular base will become oval, and the lamp’s proportions will change.
For a fictional lamp, a shared brief is enough to link the pair. If the website sells a specific product, generating from a description does not verify its appearance. Use a product photograph you have permission to use and a mode that accepts an input image, or keep the real photograph in the layout. After any edit, compare the shape, colour and details with the original.
Check the page in three passes
- Composition: open both images in their wide and narrow layout blocks. Neither the shade nor the base is cut off, the subject is recognisable, and the heading does not cover an important part.
- Text: insert the real heading at its full length, including translated versions, and the button. Check contrast along every line. A uniform wall does not guarantee readability; add a backing layer or dark overlay in the layout if needed.
- Room to crop: resize the window between your reference widths. Check how the image crops as it fills the block and where the heading moves. Two successful screenshots do not cover the states in between.
Do not choose the winning image from a small catalogue thumbnail. A thin cable can become a dark line right behind the letters, while a bright patch on the wall may disappear in the preview but get in the way at the actual size.
What to say in the next edit
Adjust the wide frame’s composition: keep the whole lamp on the right and make the lighting on the left half of the wall more even. Remove the high-contrast window shadow from the left area. Preserve the lamp’s material and colour, the console and the direction of the daylight. Do not add text or new objects.Supply this correction together with the image only in an available editing mode. If there is no such mode, add the clarification to the full original prompt and generate a new frame. After the change, check the whole lamp again: asking to preserve a detail does not guarantee it will stay the same.
Save both selected images, their prompts, actual dimensions and crop settings in the project folder. Keep layouts with a long heading alongside them. When the text or hero-section height changes, you will be able to see which image still works and which needs redoing.